Photography is not free

Looking around a bit on the web, you’ll find Photographers recounting the situation that they seem to be considered a special group who potential clients imagine take photos solely for the joy of it, and therefore will be happy to license images for use without compensation beyond the mention of their name.

I’m pretty sure most people are not routinely asked to provide the fruits of their chosen labor in exchange for nothing but a whisper of their name.  Photography can be an expensive, gear intensive endeavour, which is amplified in my specific interest area by the added cost of life support (SCUBA gear) and specialised underwater camera gear, as well as the cost to hire boats with surface support and remote lodgings.

I won’t go ‘long form’ with the arithmetic, however if you consider the cost of dive shoots and amortising the cost of equipment (photographic, computer and SCUBA), it costs approx. $500/publishable image, not including the hours of my time before, during and after any shoot (or the training and years of practice).

While I appreciate that many people find my images interesting and engaging, the commoditisation of Photography has made it a challenge for it to be self-supporting endeavour. The link below outlines this well, and the YouTube clip below uses humour to further make the point.

Reasons Why Professional Photographers Cannot Work for Free

No Budget for Photos

Is it Real, or is it Photoshop?

From time to time, people viewing my images make a comment along the lines of “…beautiful detail and colors; did you Photoshop it?”. Their thought being that digital image ‘manipulation’ is required to make images that look as they do, is somehow cheating, or creates images that are not ‘real’ photographs.

My response is typically “I process my images to look like I saw them, not how the camera recorded them.” If it seems like the person is open minded, I may further elaborate along the lines of “I’ve been creating images long before digital technologies became common, and the main difference is I no longer get chemical burns in my clothes from darkroom chemicals”.

The reality is that photographers have always modified what the camera recorded by the selection of film stock, under/over developing the negative (or using alternative chemistry), selecting photographic papers of less/greater contrast (or color characteristics), and dodging, burning (selectively blocking light, allowing extra light) when exposing enlargements, and a myriad of other techniques that all contribute to the final look of the photograph. This was never called in question; it was part of the photographer’s art.

In a digital world, the concept of the techniques that applied to film same apply; except no chemicals, and I have the added bonus of interactively making the adjustments to more quickly arrive at my vision, rather than the blind trial and error (even when guided by experience, formulas and exposure strips)

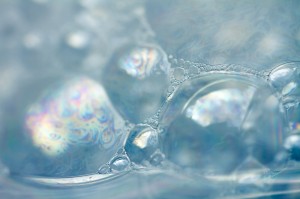
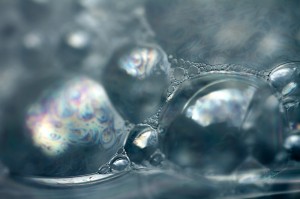
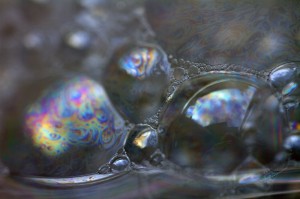
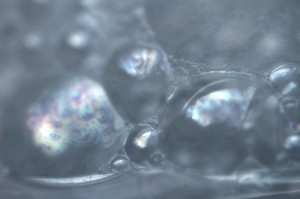
Below are examples of a shot showing several variations in processing. Which version is “Real”?

in-camera (default) process

Version 1: In-camera (default) process

normal processing

Version 2: Processed with my typical approach

tone mapped after initial processing

Version 3: My typical processing + post tonemapping

Auto process

Version 4: Default (in-camera) + Photoshop Auto tone/color

tonemapped default

Version 5: Default (in-camera) processing + tonemapping

It’s the Photographer, not the camera

Do you need a good camera to get good pictures? Probably not…

Arguably, a good camera in the hands of a ‘pro’ can handle a more challenging shot gracefully, but one of my favorite clips from the “Pro Photographer; Cheap Camera” series on DigitalRevTV (Youtube) is one highlighting Zack Arias.

Zach takes a cheap point and shoot, an off camera strobe, sync issues, low batteries, language barriers, and with persistence and good humor gets some consistently good candid portraits. It’s all about understanding light and composition, regardless of the camera (and in this case a smaller camera may have helped by being less intimidating).

Underwater Camera Housing

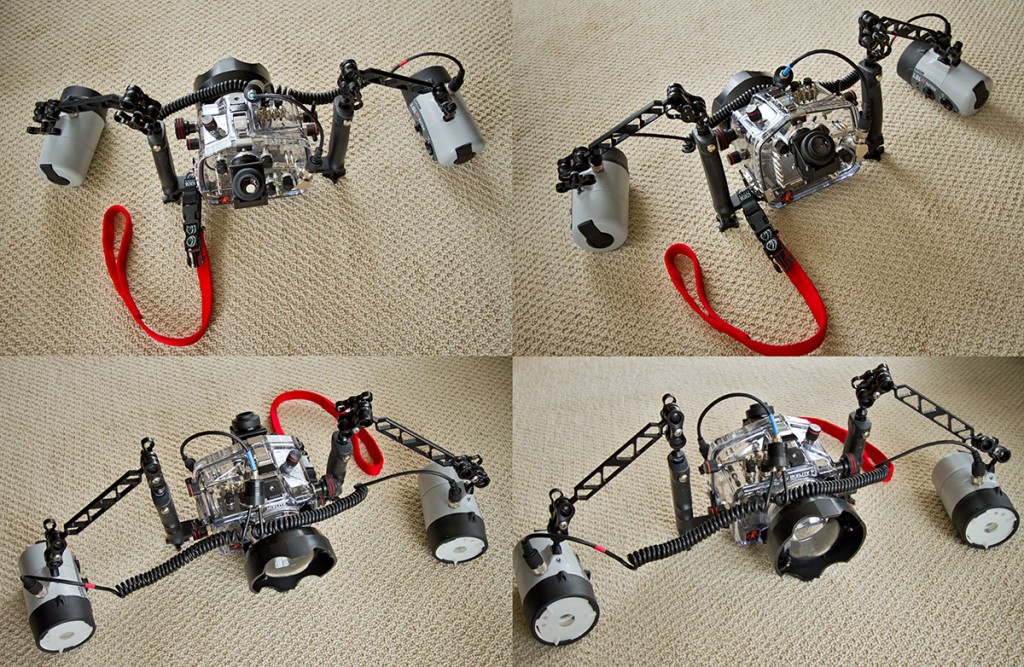
Ikelite 7D Housing

Ikelite Camera Housing: Click Image to enlarge

My current setup for underwater imaging consists of:

  • Canon 7D DSLR with 10-22mm wide angle, and 60mm macro lenses
  • Ikelite 7D housing (polycarbonate)
  • 2 X Ikelite DS 161 Strobes
  • Inon 45 Degree Viewfinder
  • 2 Ultralight Arms
  • Various lens ports: flat port, 6″ dome port (shown), 8″ dome port

The new Ikelite DS 161 Strobes with 5 watt LEDs are great for built in focus lights. In BC’s darker waters they allow the 7D to focus near instantly, so I’m getting more of the shots I go for. They are bright enough to act as night lights too, so I need only carry a back-up light at night. Even with the focus lights on, I don’t notice any appreciable reduction in flash capacity. Highly recommended!

The Inon 45 degree viewfinder is a joy to use. For the macro shots I seem to do most, I get a much larger, clearer view of my subject, making framing much easier. It took some time to get used to the angle, but even at the beginning, I liked using it better than the standard viewfinder. Backscatter (Camera equipment re-seller in Monterrey California) suggests it is harder to track fast moving objects with the 45 viewfinder, but after getting used to it, I was having no trouble tracking fast moving Sea Lions, even as they zoomed right up and past me. Another highly recommended addition!

The Ikelite housing has  on-board flash converter circuitry so the Canon 7D can manage the Ikelite Strobes as if they were Canon Speedlites. I used to shoot with the strobes in manual, but now find the Canon/Ikelite circuitry can get the optimal exposure 9/10 times. If I’m shooting light colored objects on darker backgrounds, the exposure compensation on the Ikelite strobe circuitry allows setting +/- stops and works perfectly

This is where it starts!

Welcome to the Blog!

This is a test post while some of the Blog setup is being completed. I’m hand editing the .css to make it match the main site as much as possible. The WordPress stylesheet has 1300 lines… seems like overkill to me

The image above is a close up of a Wolf Eel (Annarrhichthys ocellatus). The entire picture can be viewed here on Flickr

Upcoming entries will illuminate some ‘behind the scenes’ musings on photography, scuba diving, image processing, gear, and whatever else seems apropos